I know, I know, Amiguruthi usually updates on a Sunday, I said Monday on Facebook and it’s now Tuesday evening. I’m sorry! Life exploded again! Here is a peace offering.
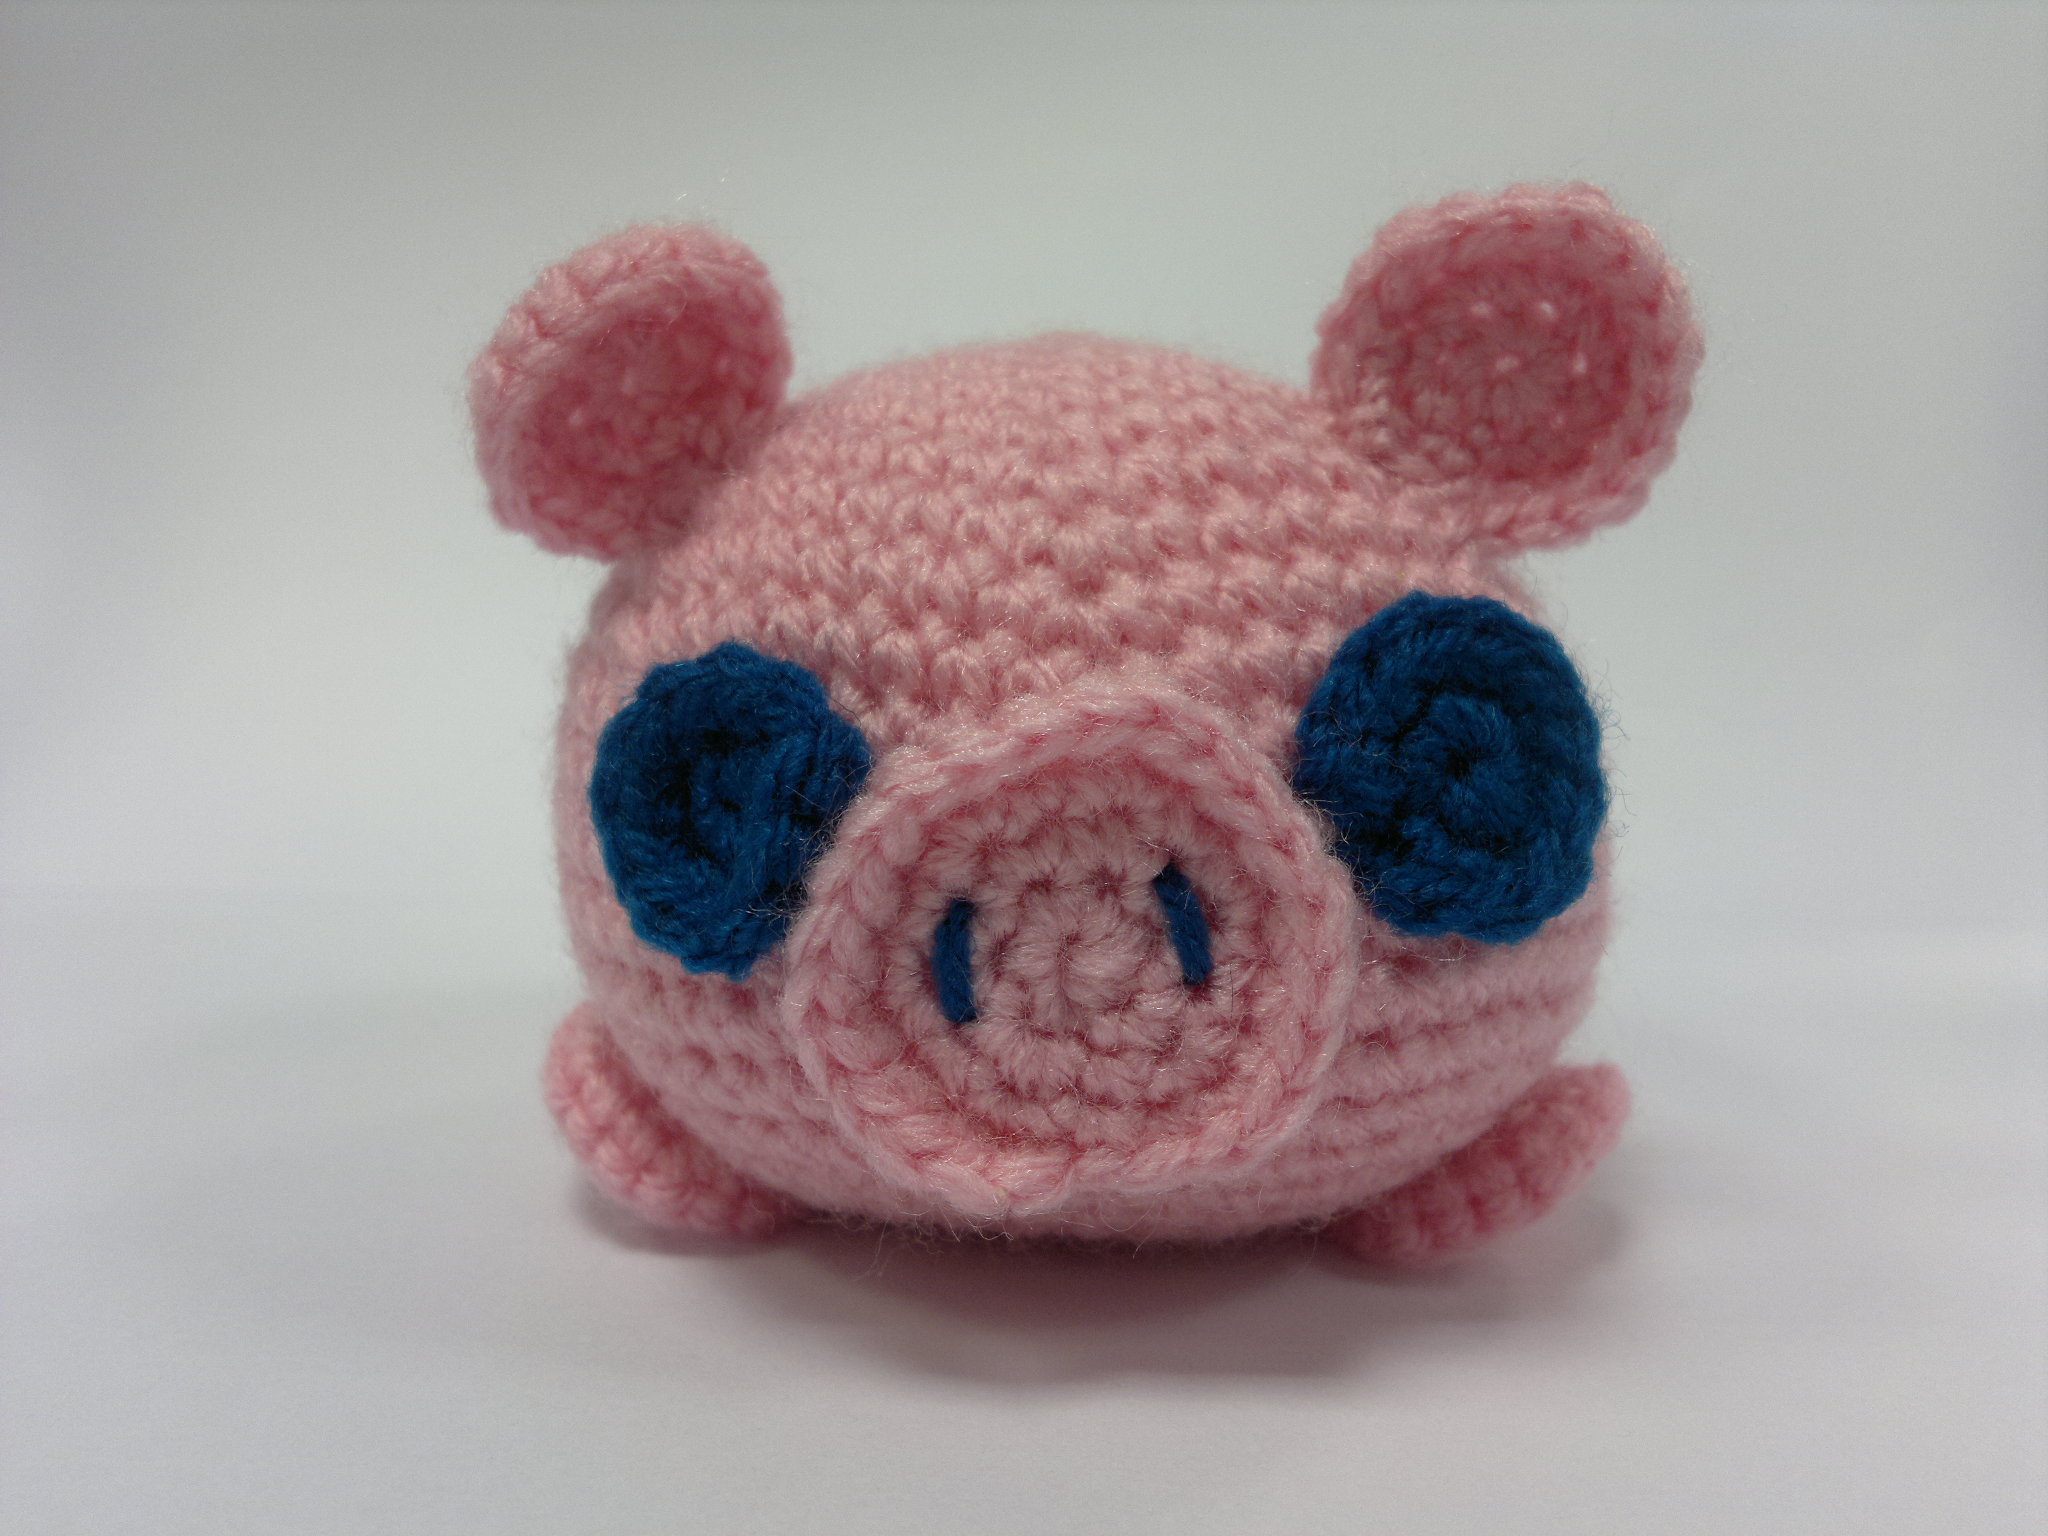
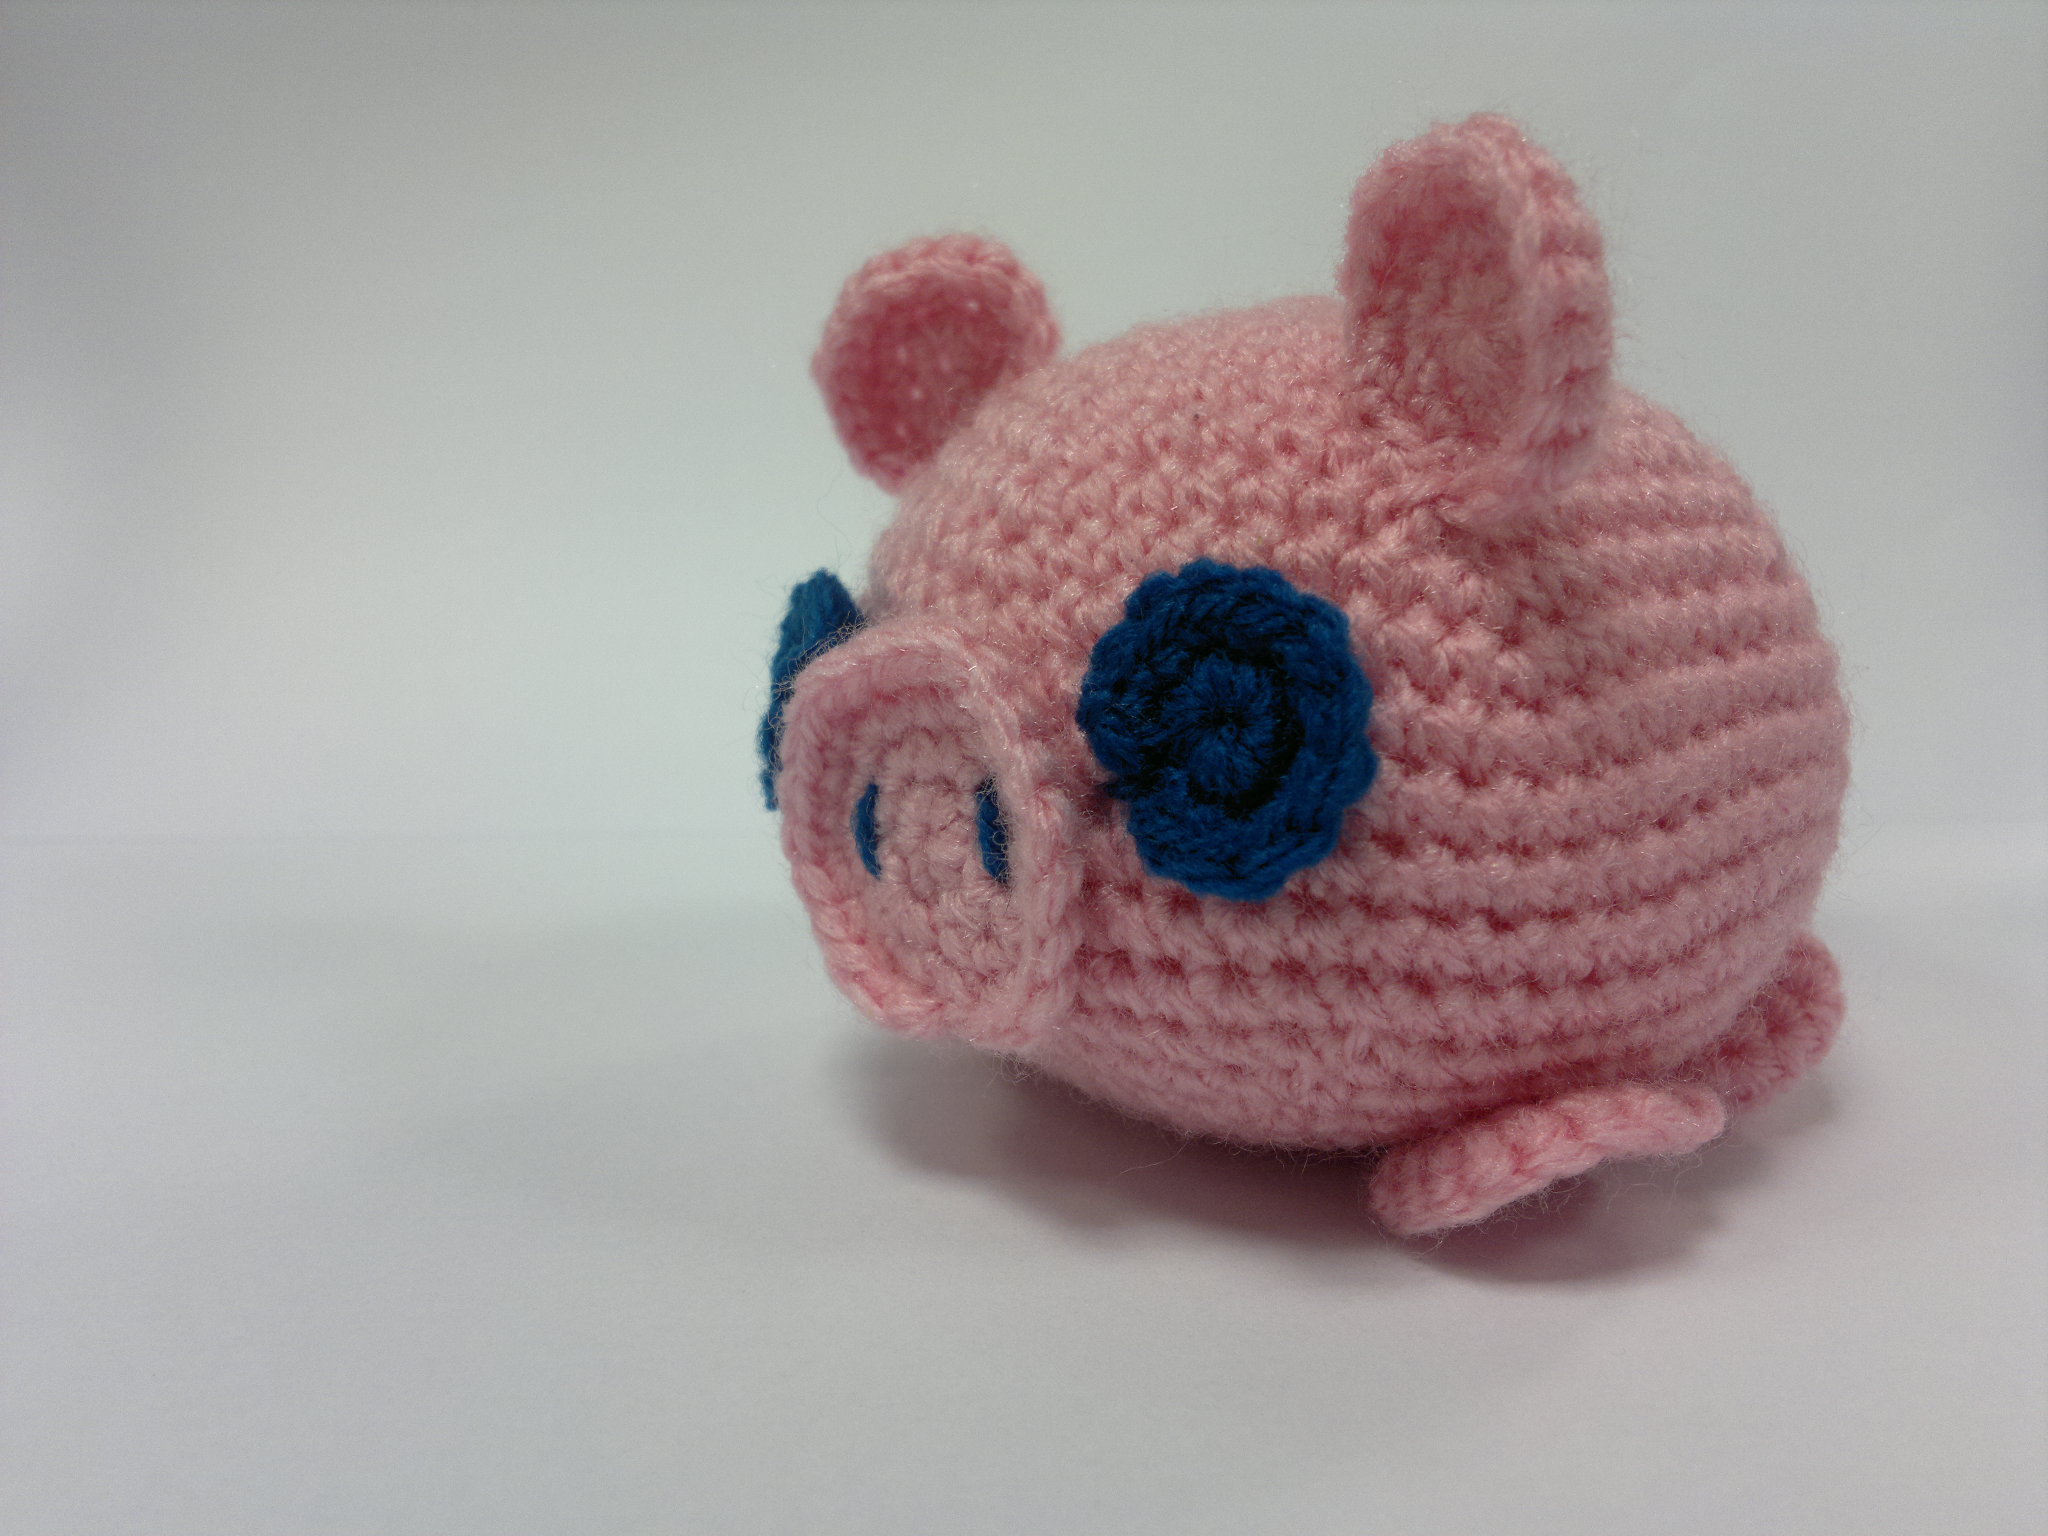
Look at the cute. Forgive me?
Free pattern and how to photos after the jump.
This is a very simple pattern, aimed at beginner crocheters, based around balls and circles. It’s part of a uni project that I’ll be squeeing over in the not too distant future.
The Essentials:
Hook: 3.5mm
Wool: pale pink, dark blue DK
Finished Size: approx 3” tall, 4” wide.
Terms:
CH = Chain
SC = Single Crochet
INC = Increase
DEC = Decrease
Body
In pink, Ch2/ magic circle
Round 1: 6sc into 2nd ch from hook/ centre of magic circle [6]
Round 2: INC around [12]
Round 3: {1sc, INC} repeat around [18]
Round 4: {2sc, INC} repeat around [24]
Round 5: {3sc, INC} repeat around [30]
Round 6: {4sc, INC} repeat around [36]
Round 7: {5sc, INC} repeat around [42]
Round 8: {6sc, INC} repeat around [48]
Round 9: {7sc, INC} repeat around [54]
Round 10: {8sc, INC} repeat around [60]
Round 11-15: Sc around [60]
Round 16: {8sc, DEC} around [54]
Round 17: {7sc, DEC} around [48]
Round 18: {6sc, DEC} repeat around [42]
Round 19: {5sc, DEC} repeat around [36]
Round 20: {4sc, DEC} repeat around [30]
Round 21: {3sc, DEC} repeat around [24]
Round 22: {2sc, DEC} repeat around [18]
Round 23: {1sc, DEC} repeat around [12]
Stuff
Round 24: DEC around [6]
Finish off and weave in tail.

It’s a big old ball!
Ears and Legs (x6)
Ears and legs are exactly the same, so just make six of the following.
Ch2/ magic circle
Round 1: 6sc into 2nd ch from hook/ centre of magic circle [6]
Round 2: INC around [12]
Round 3: {1sc, INC} repeat around [18]
Finish off and leave a long tail for sewing. On the legs, take the tail to the centre back, and on the ears leave it at the edge (bring the initial tail from the beginning to the edge too).
So this shows an ear.
Sew the four legs on flat in this formation:
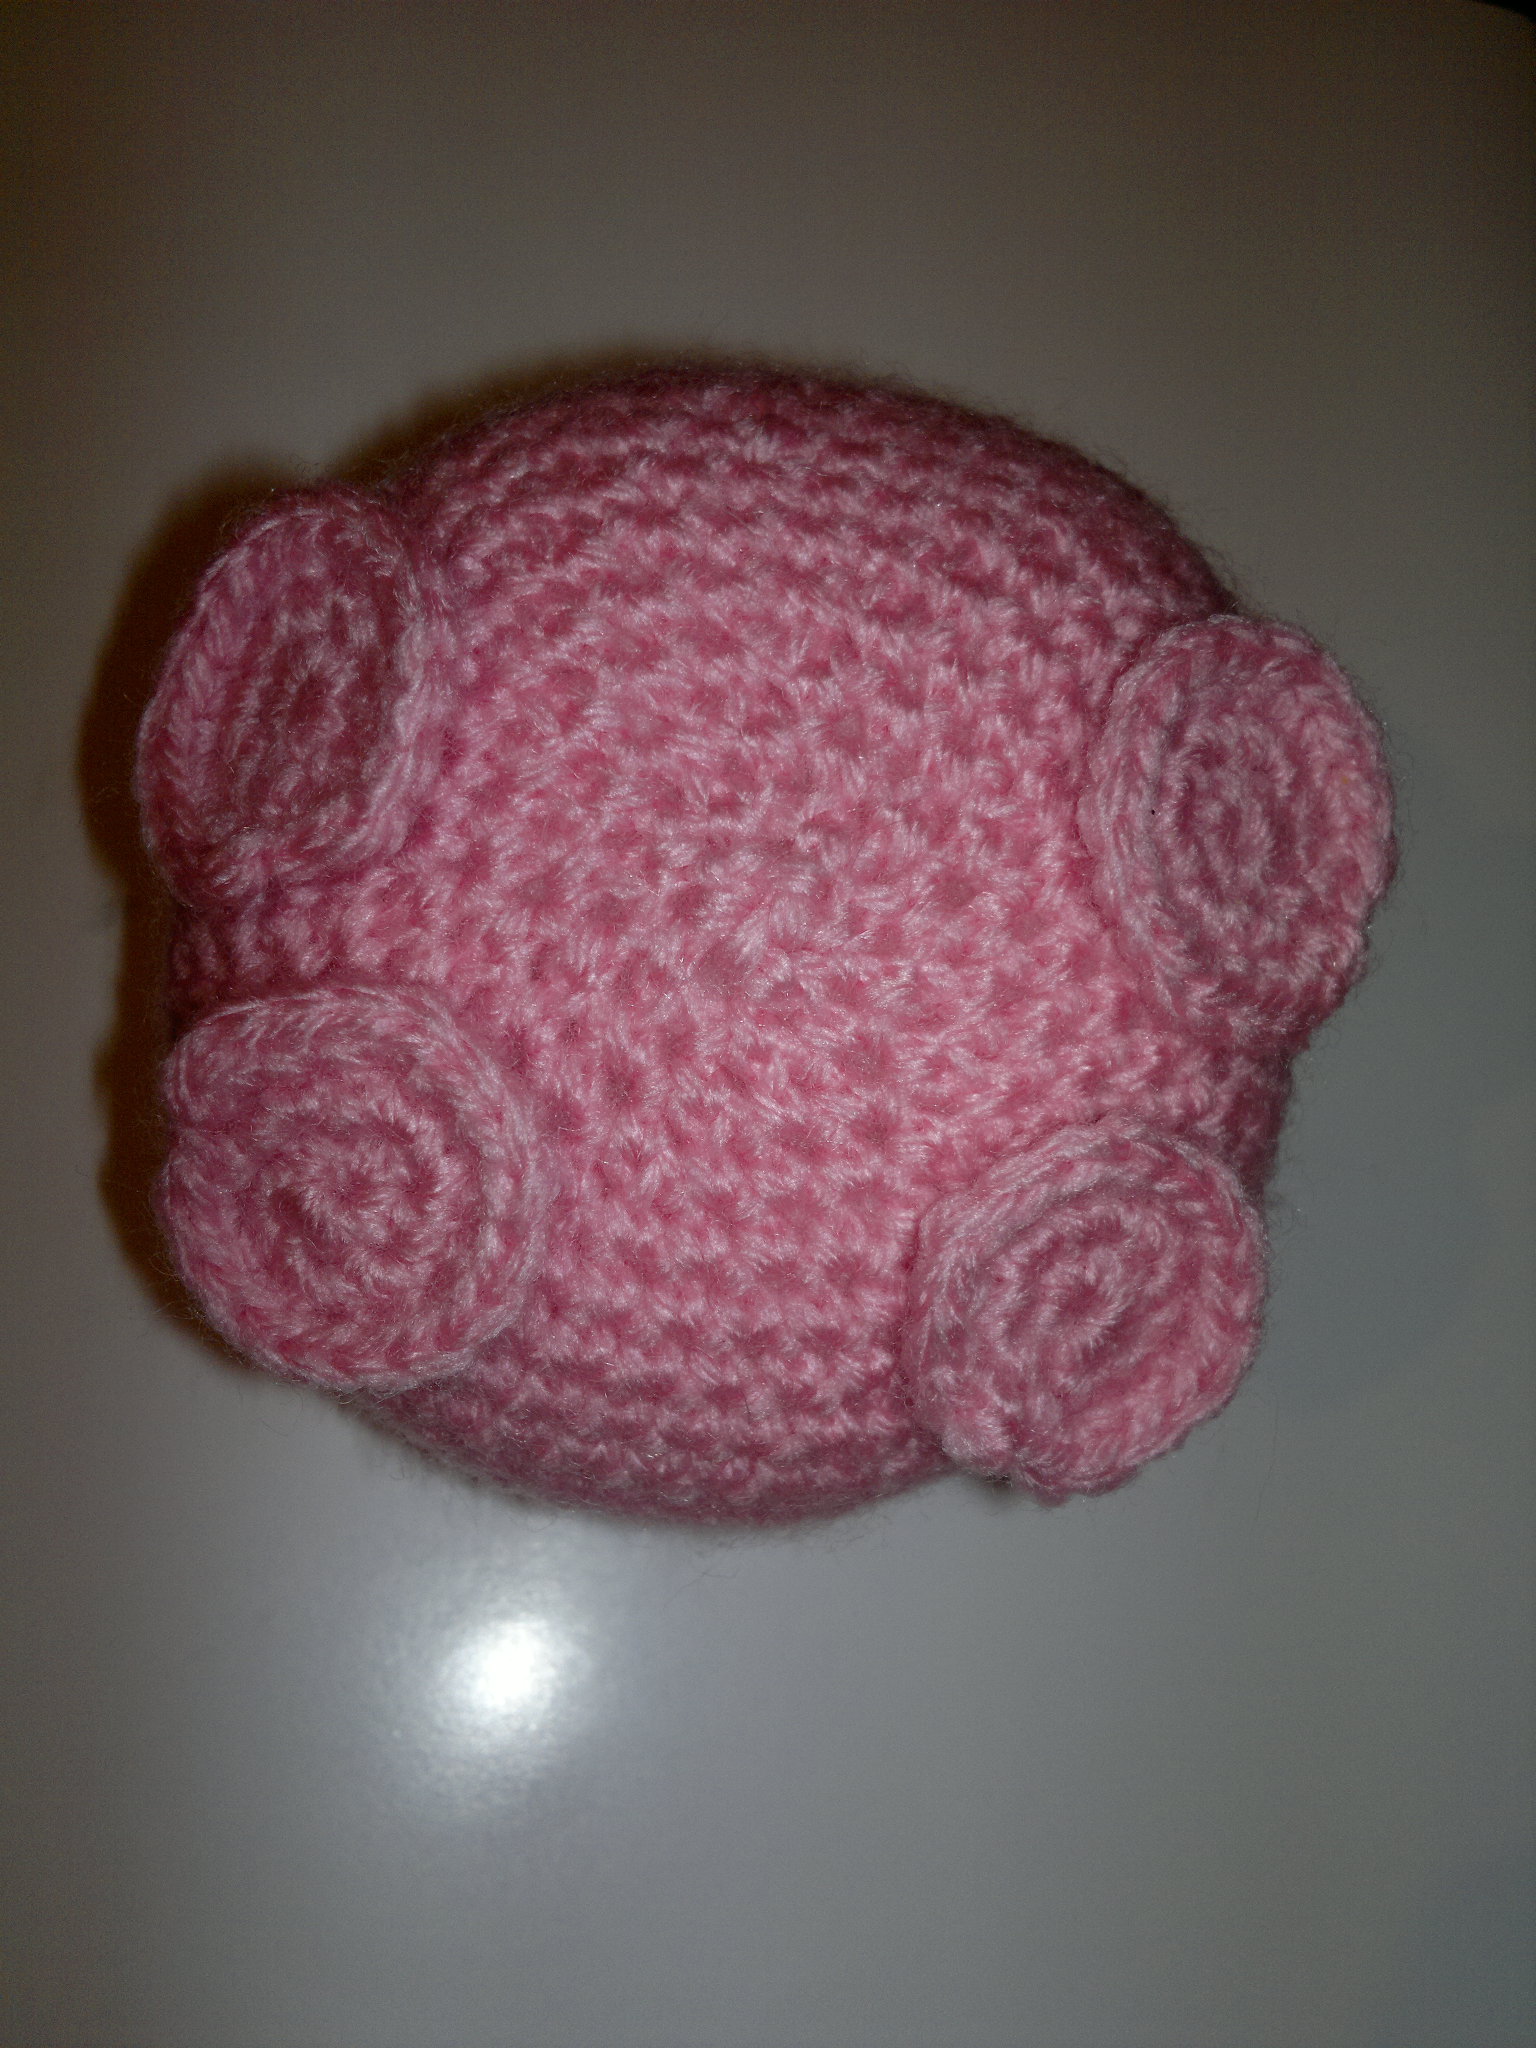
And sew the ears in place on top like this:

But you know, right way up – I can’t work out how to rotate the image! This to be edited when I have time!
Right, next up the nose.
Nose
Ch2/ magic circle
Round 1: 6sc into 2nd ch from hook/ centre of magic circle [6]
Round 2: INC around [12]
Round 3: {1sc, INC} repeat around [18]
Round 4: {2sc, INC} repeat around [24]
Finish off, bring the tail to the centre like on the legs and sew in the middle of the face.

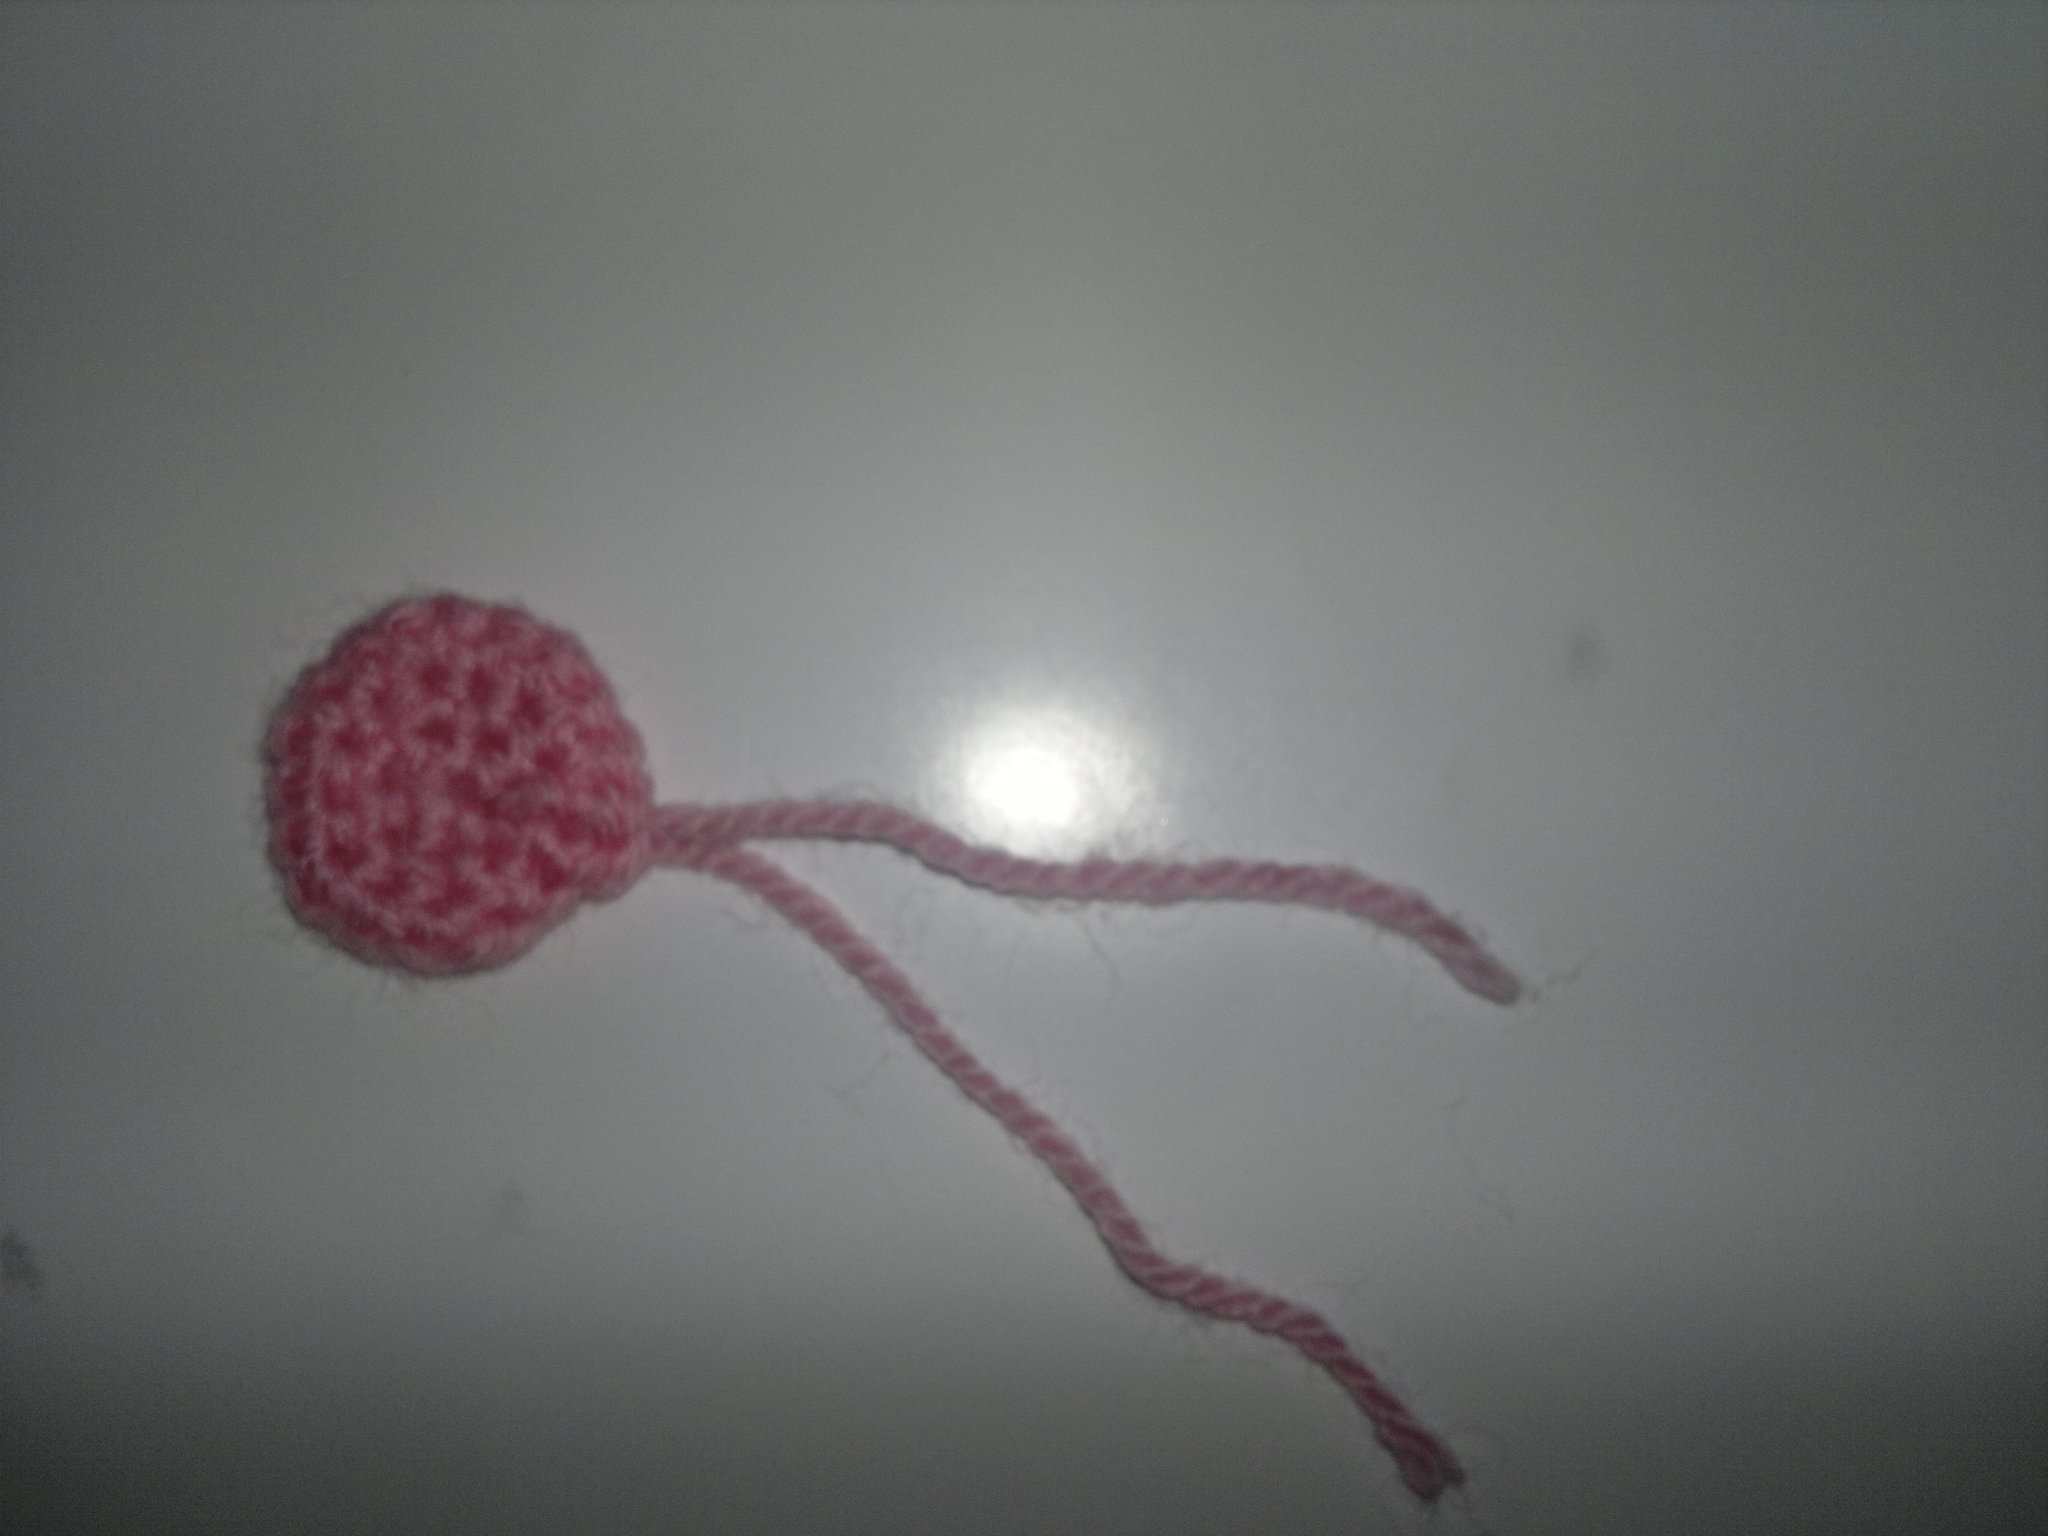
Final bit with the pink yarn now – the tail!
Tail
Ch11
Row 1: Sc along starting in the second chain from the hook [10]
Finish off and leave a long tail for sewing.

Sew it on the back and emphasise that curl.

Almost done now! We need some peepers for our piggy.
Eyes
Ch2/ magic circle
Round 1: 6sc into 2nd ch from hook/ centre of magic circle [6]
Round 2: INC around [12]
Round 3: {1sc, INC} repeat around [18]
Finish off and leave a long tail for sewing, again take it to the centre.
Simply sew your eyes in place either side of the nose. While you’re at it, pop a couple of nostrils on the nose too.

Done! And because this is a project, and I actually had to do decent photography, here’s a piggy gallery!


Pingback: Pork Ball Piggy (Free Pattern) « Manic Serenity
Well, you are still ahead of me and starting to do laps around me again, I’m afraid as I was supposed to have posted this last week! I adore your little piggy and it is a wonderful pattern for beginners! They’d get great results on their first project – how encouraging is that?! Love!
I have no clue how many Yarndango projects I’ve submitted now. If you’re on 24 I must be similar surely so I might start retagging from there! I’m glad he comes over as a good beginner piece – I wanted something typically amigurumi but incredibly simple for my project 🙂
Pingback: Yarndango Project 24 | madcrochetlab.com
Pingback: Midweek Squee: The Crochet Club House | Amiguruthi
Pingback: 9 Piggy Amigurumi Crochet Patterns - FREE - iGOODideas.com